Are you tired of spending countless hours searching for the perfect window treatments for your home? Look no further than DIY shutters! With a little bit of patience and some handy tools, you can have beautiful and functional shutters in no time.
In this comprehensive guide, we will walk you through the entire process of measuring, ordering, and installing your very own DIY shutters. Let’s get started!
Step 1: Measure Your Windows
The first step in the DIY shutter process is to accurately measure your windows. This is crucial in ensuring that your shutters fit perfectly and provide maximum coverage.
To measure your windows, you will need a steel tape measure and a pencil. Start by measuring the width of the window opening at the top, middle, and bottom. Write down each measurement, and then measure the height of the window opening at the left, middle, and right. Record these measurements as well.
Once you have all of your measurements, use the smallest width measurement and the smallest height measurement to determine the size of your shutters. This will ensure that the shutters fit within the window opening, even if the opening is slightly uneven.
Step 2: Choose Your Shutters
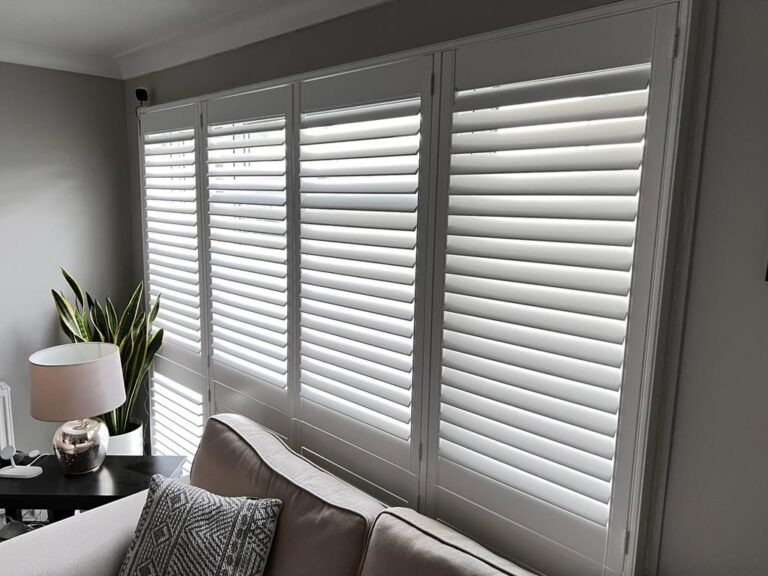
The next step is to choose the type of shutters that you want to install. There are many options available, including solid panel shutters, tier-on-tier shutters, and café style shutters, to name a few.
Consider the style of your home, the size of your windows, and your personal preferences when choosing your shutters. You can also consult with a professional to determine the best type of shutters for your home.
Step 3: Order Your Shutters
Once you have chosen your shutters, it’s time to order them. Most DIY shutter companies will require you to input your measurements in order to receive an accurate quote.
Make sure to double check your measurements before placing your order to avoid any mistakes or miscommunications. It’s also important to note any special requirements, such as shutters for arched windows or shutters with cutouts for outlets.
Step 4: Prepare Your Windows
Before installing your shutters, you’ll need to prepare your windows. This may include cleaning the windows and removing any old window treatments or hardware.
It’s also a good idea to gather all of the necessary tools for the installation process, including a drill, screws, screwdriver, and a level.
Step 5: Install Your Shutters
Now for the fun part – installing your shutters! The exact process will vary depending on the type of shutters you have chosen, so be sure to carefully follow the instructions provided by the manufacturer.
In general, the process involves screwing the hinges onto the window frame and then attaching the shutters to the hinges. Use a level to ensure that the shutters are straight, and then adjust the hinges as necessary.
Repeat this process for each window, and then step back to admire your handiwork!
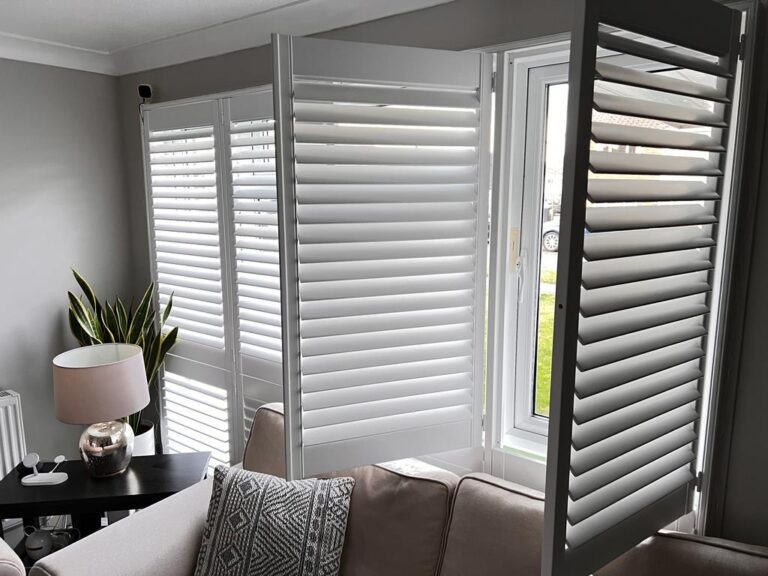
Step 6: Enjoy Your New Shutters!
You did it! Your DIY shutters are now installed and ready to be enjoyed. Sit back, relax, and bask in the beauty and functionality of your new window treatments.
DIY shutters are a cost-effective and rewarding home improvement project that will provide you with years of enjoyment. So what are you waiting for? Get started on your DIY shutter journey today!